
Only showing posts tagged with "NVIDIA"
Phoenix Reborn
June 23, 2006 2:00 PM by Daniel Chambers
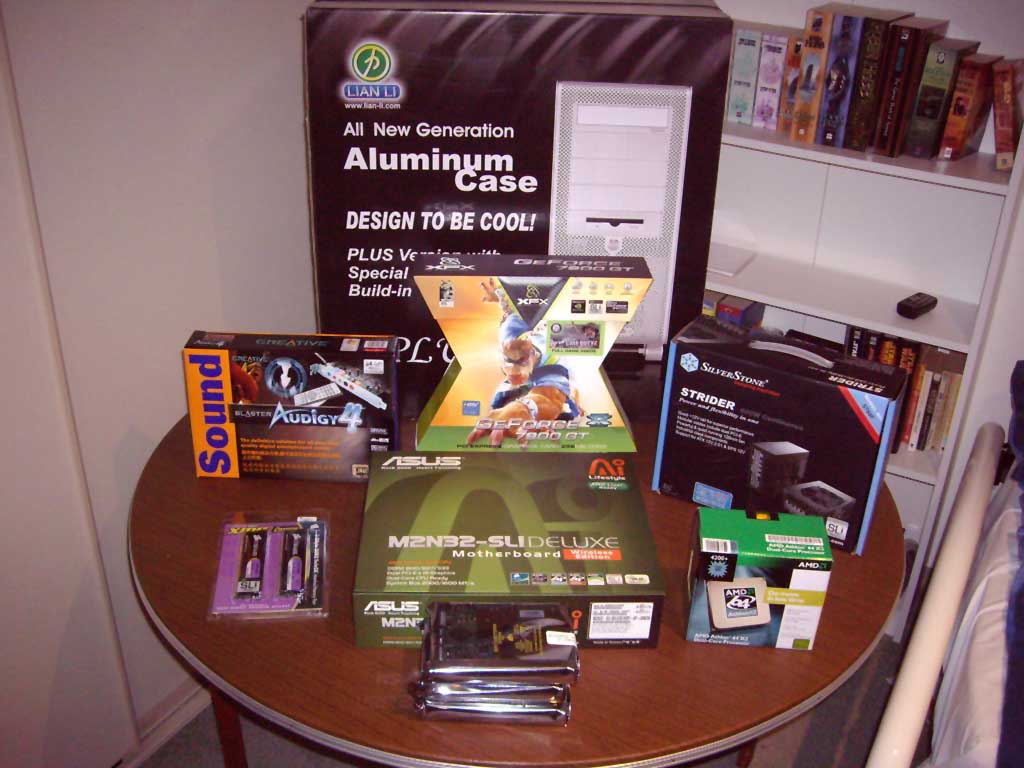
Since my last computer (Phoenix-II) sizzled and burned, I have bought an entirely new rig. This time I was not stupid and I did not buy parts at the end of their lifetime; I got Socket AM2 parts which are all new and AMD has promised to continue using the socket for at least two years. I ordered the parts and within 3 days Scorptec had got them all, which was amazingly fast. I can highly recommend Scorptec to anyone wanting computer parts. They don't have the best prices but their service is very good and their warrantees are long. The parts I got were:
- AMD Athlon 64 X2 4200+ (Socket AM2) CPU
- ASUS M2N32-SLI Deluxe motherboard
- 2 x Corsair 1GB PC-6400 DDR2 RAM, 4-4-4-12 timings, with EPP
- XFX 256MB Geforce 7900GT "Overclocked"
- Silverstone ST60F 600W PSU
- 3 x Seagate 250GB 7200rpm SATAII 16MB Cache with NCQ HDDs to be RAID5ed
- Lian-Li PC-V1000B Plus case
- Creative Audigy4 sound card
Here's a picture of them all still in their boxes. Lovely.
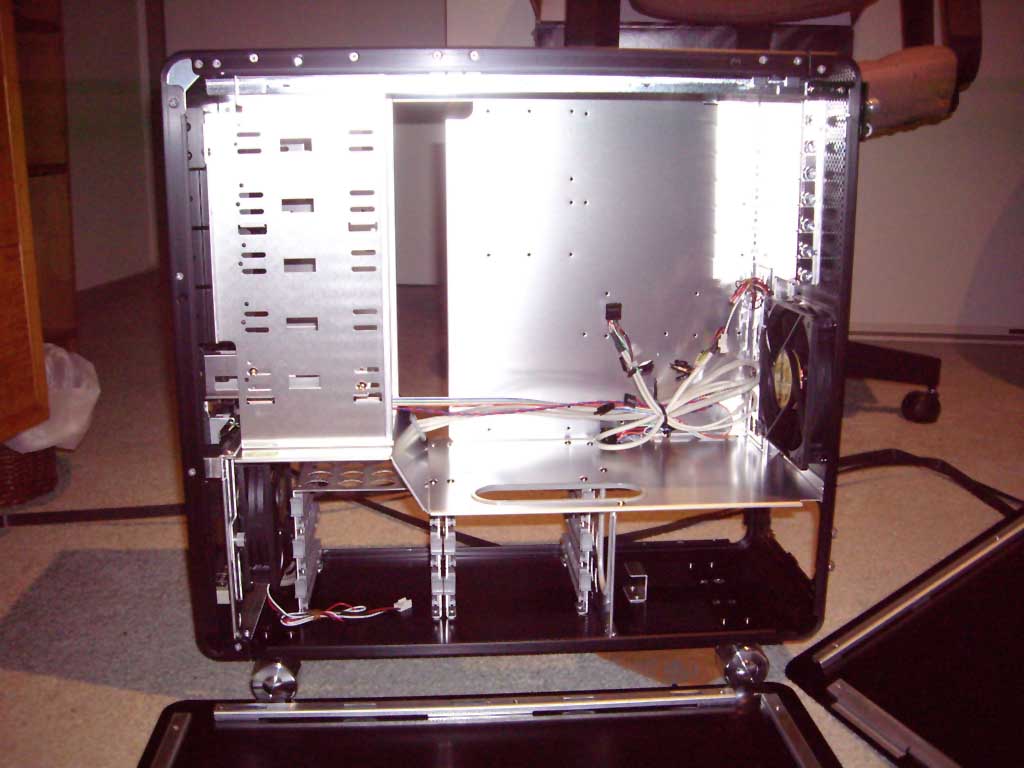
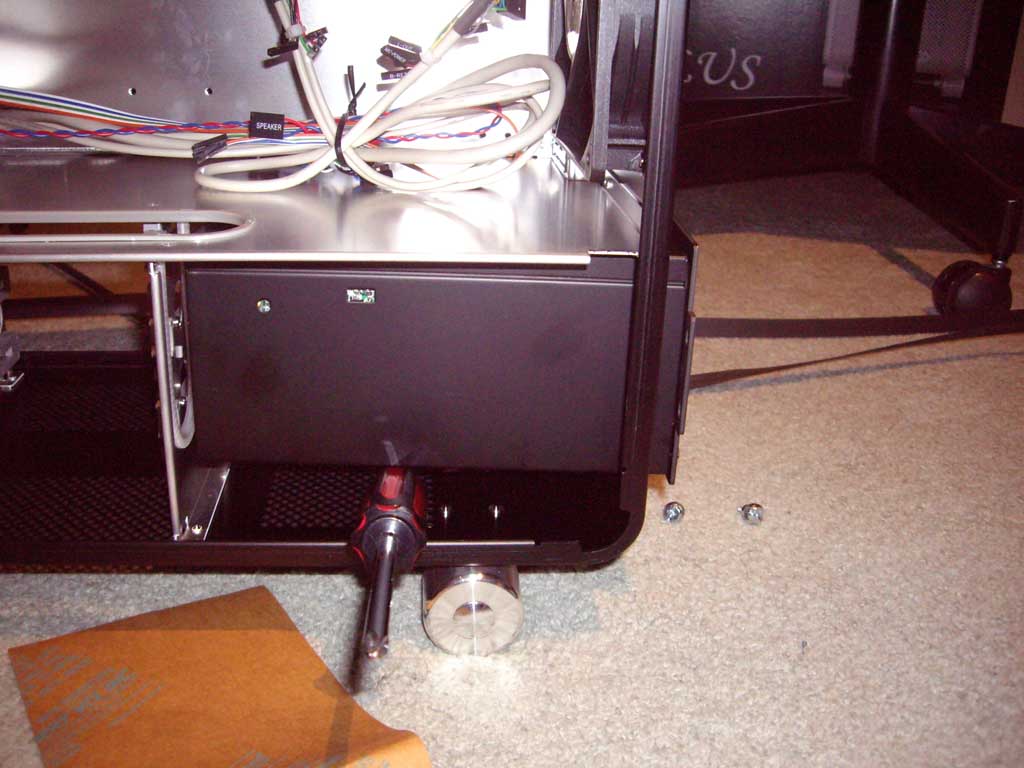
First things first, I had a nice look inside the case. It turned out the power supply was too big for the case in its current format. This meant I had to remove the second hard drive enclosure to make space for it.
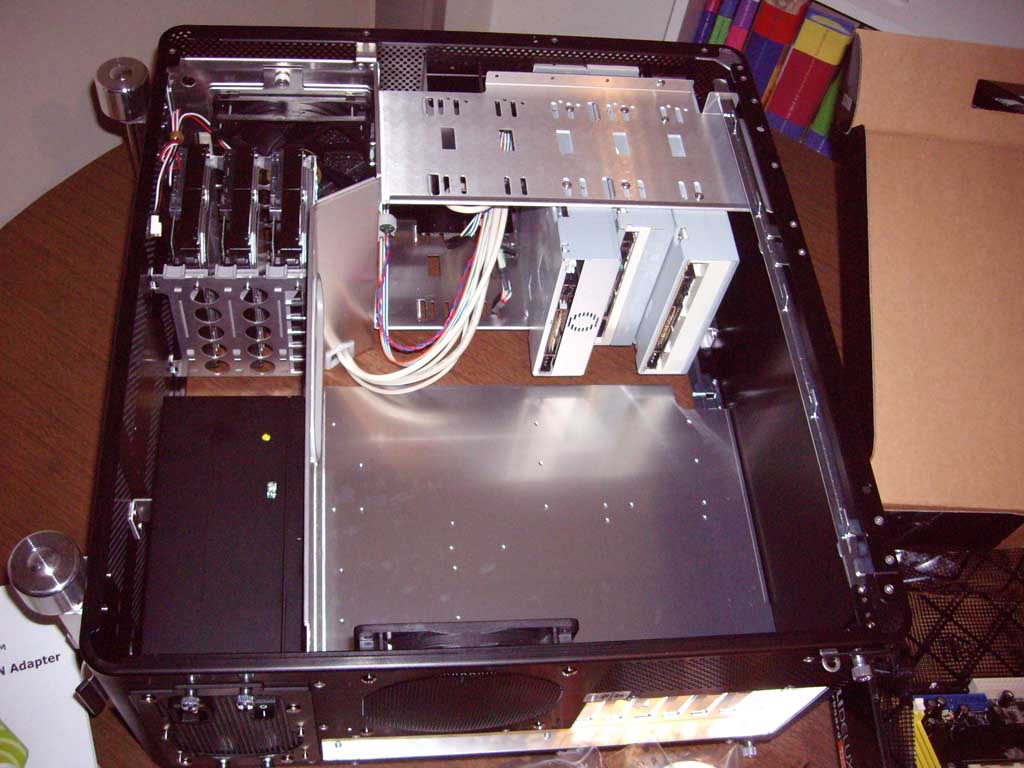
So I then started installing parts into the box. As you can see the whole operation made a big mess of my room. First up, the hard drives and optical drives. Then I installed the motherboard, but when I got to the CPU I hit my first bump.
The instructions for installing the heatsink on the CPU were to first hook one side of the heatsink clip and then the other side of the clip onto the retention bracket then turn the securing handle which pushes the heatsink firmly down onto the CPU to ensure a good thermal contact and to make sure it is secure.
So I clipped on the heatsink but it needed a fairly large amount of pushing to make it go on. Then, when I tried to turn the securing handle, it refused to move. Obviously, the clip had gone on wrong or something. Unfortunately, now the heatsink was on tight and wouldn't come off. So I had to unscrew and remove the entire retention bracket to remove the heatsink. Once off I could dismantle it and then clip it back on properly. This time the securing handle turned fine. So I screwed the retention clip back onto the motherboard and this time the heatsink secured fine. Phew.
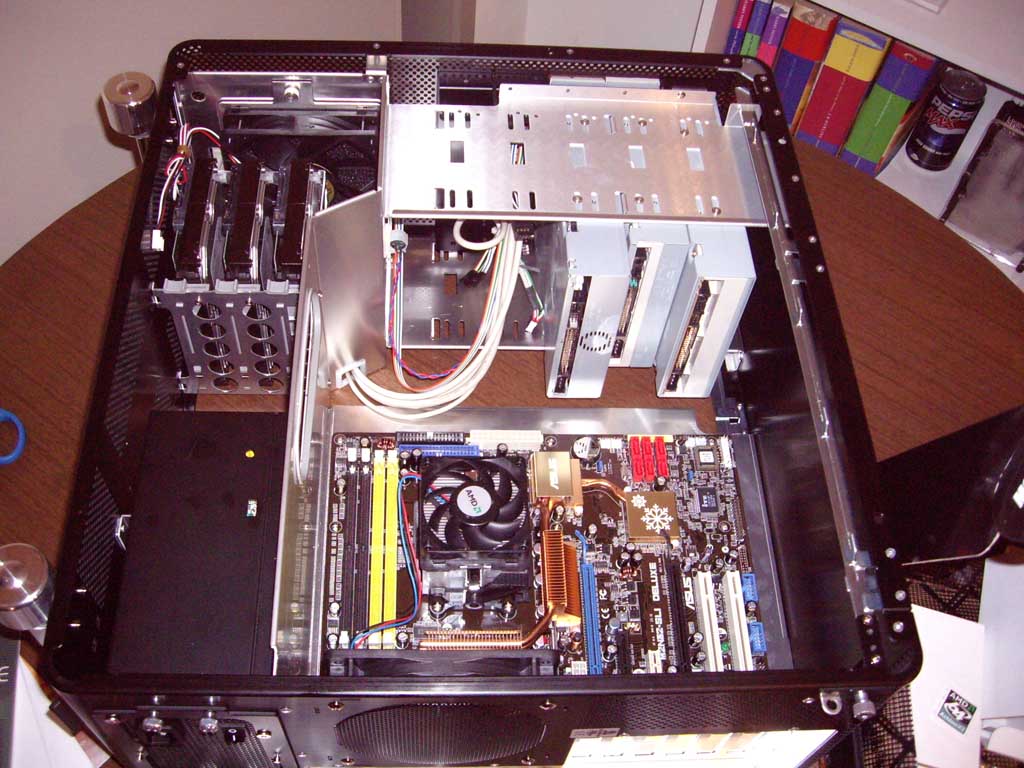
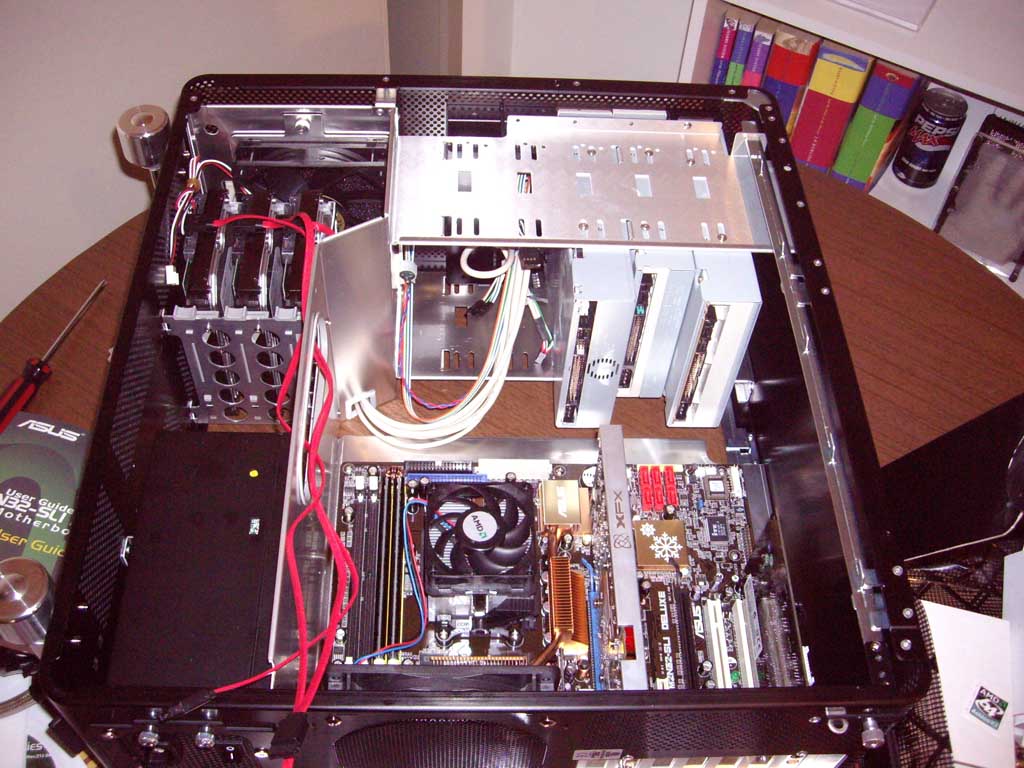
Next up, the memory and graphics card and then the rest of the components. In this picture you can see the back side of the case where I routed some of the wires. And in this picture you can see everything inside the computer. You can see the funnel that directs air from the back 120mm directly over the CPU and the specialised extraction fan that juts out over the graphics card to blow its heat out the back of the case.
Overall I was a little dissatisfied with the Lian-Li case. Lian-Li is supposed to be a very high quality case manufacturer, but I was underwhelmed by their offering. The case was not entirely toolless which is what I would have expected. I had to use a screwdriver numerous times, especially since the 5.25 inch drive bays needed screws to hold the drives in. This is normal for most cases, but the last case I worked on (the Cooler Master Ammo) cost a third of the price and was completely toolless. Also, getting the back side door off requires nothing less than a pair of scissors for a lever since it is so stiff; fingers are simply too weak (and painful). A bit of WD40 might fix it up, but I'm sorry, Lian-Li is supposed to be engineered to perfection (especially considering the price). Also, this case does not have a removable motherboard tray, a feature, I am told, is extremely useful and was included in Lian-Li's last case design (the PC-60). Although all the internal case edges are supposed to be rounded, I can say by experience that there are still enough edges to cut yourself on. I had my fair share by the end of the build.
That said, the Lian-Li is very effective at cooling the computer. As you can see in that last picture, the redesigned interior, the 120mm fans and the GPU heat extraction fan are very good at removing heat. The fact that the case is also full of holes also contributes to greater airflow. The Lian-Li is very quiet which is beautiful after my last PC (a scorchingly hot Pentium 4 because of Intel's terrible NetBurst architecture) which was irritatingly loud.
Overall, I'd probably give the Lian-Li a 8/10.
The next bump on the road was trying to install Windows. I had downloaded a free, but legit, copy of Windows XP thanks to my university, to save me the trouble of ringing Microsoft and trying to get them to reactivate my old XP copy on my new machine. It turned out I needed to supply the XP install with supplementary drivers for the RAID array. But the XP install just crashed whenever it tried to read them from the floppy disk. So I was forced to create a custom XP install disc that had the drivers already included. nLite is a beautiful program that allows you to do that as well as slipstream in SP2 and hotfixes.
I've since installed all my games and programs and I am happy to say that Phoenix-III is a roaring success. Here are the benchmark score it has earned:
- 3DMark03 (Default Settings): 18031
- 3DMark05 (Default Settings): 8813